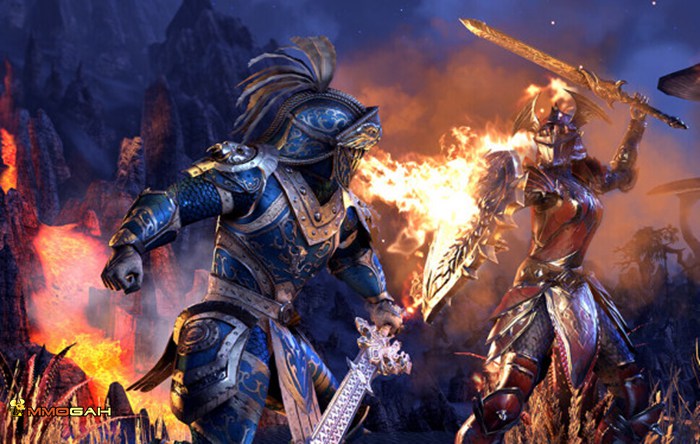
Due to his disposition to fight over a short distance, Dragonknight is perfect as a tank in the Elder Scrolls Online, i.e. the one that gets the whipping for the entire party. What is especially useful, in this case, are the abilities from the Dragonic Power and Earthen Heart trees - Ardent Flame is centered, rather, around a solo play, if you want to deal as high damage as possible.
As a tank, your main task is to drag the attention, of the enemies, away from the rest of the party and, to do that, you need to have as large a pool of health as possible and average amounts of stamina, and magicka. Also, you should have the highest possible value of your armor and resistance to magic, thanks to which you will bring damage to a minimum. Wear heavy armor only.
The recommended race, for this task, is the Imperial, due to his race abilities, which raise sword and shield wielding abilities, which increase maximum health and stamina which, in turn, allows him to steal health by attacking. Of course, the other races are just as fit or that, but this guide assumes that you are playing as an Imperial - if you have selected any other race, ignore Imperial's passive abilities, provided in this section. Additionally, in both weapons slots, keep a sword and the shield - yes, n both of them. This has been explained below.
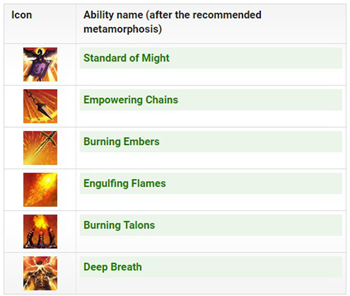
Active abilities - the first weapons set
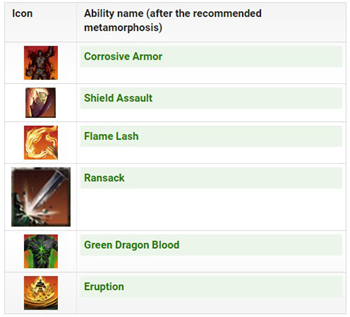
Active abilities - the second weapons set
In addition to the above sets of abilities you should invest into the following passive abilities (from the One Hand and Shield, Imperial and Heavy Armor trees):
Iron Skin
Kindling
Warmth
Searing Heat
World in Flame
Burning Heart
Elder Dragon
Scaled Armor
Battle Roar
Eternal Mountain
Mountain's Blessing
Helping Hands
Sword and Board - raises the damage that you deal and block, when you are using the sword and the shield.
Deflective Bolts - increases the value of the blocked damage from bolts.
Deadly Bash - shield bash (the attack while blocking) deals higher damage and costs less stamina.
Fortress - decreases the cost of blocking and using of abilities, while using the sword and the shield.
Constitution - increases the regeneration of health, per each element of heavy armor that you wear.
Bracing - decreases the cost of blocking, if you are wearing, at least 5 elements of heavy armor.
Juggernaut - increases the power of melee attacks, per each element of heavy armor that you wear.
Rapid Mending - increases the amount of healing that you receive, per each element of heavy armor that you wear.
Red Diamond - your melee attacks have a chance of healing you.
Resolve - raises the armor and resistance to magic per each element of heavy armor that you wear.
Shield Affinity - increases the income of experience in the One Handed and Shield tree.
Tough - increases the maximum amount of health.
Conditioning - increases the maximum amount of stamina.
How to build a tank
Apart from choosing the appropriate abilities, you should also distribute your points properly and ensure a good selection of weapons:
Most of the points, distribute into Health - 10 points into both Magicka and Stamina should do, put all the remaining points into health. You will receive Magicka and Stamina from items.
Wear heavy armor only - it offers the highest bonus to armor and also harmonizes perfectly with the passive abilities, presented in this chapter. Even if your armor exceeds the threshold (it is then highlighted in orange, the so called Overcharge), you are going to need each and every points, because your role is to get the whipping for the whole party.
Enchant the armor in a way that allows you to make up for the missing statistics - enchant some of the armor elements with Magicka and Stamina, because you have already invested the points in health. If you fell that the rest of the resources are sufficient, and you can put some of the points into the resistance of some of the elements of the armor, do that - you can never have too much health. When it comes to jewelry, again, enchant it to make it suit your needs - if you are low on stamina/magicka/health regeneration, add these statistics to the jewelry. You can also invest in decreasing the cost of abilities) depending on the type of ability - "Reduce Stamina / Magicka cost of abilities").
Use the swords and the shield in combat, only - a lot of the abilities that you are using are based on them. Apart from that, you will also have more armor and you are going to find it easier to block attacks) which is your main role). Put the sword and the armor into both of the weapons slots.
While crafting armor (or buying it), try to obtain useful traits, like (in the case of armor) Impenetrable (resistance to critical hits) or Reinforced (increased armor value on the item). As for the weapon, an useful trait is Precise (increases the chance of scoring a critical hit), Defending (increases the overall resistance and resistance to magic, by a percent value), or Sharpened (increases the armor piercing and resistance to magic).

Skills
Primary Bar: 1h & Shield – Single Target Tank
Pierce Armor– Bread and butter taunt and debuff. Cheap, cheerful and always wanted on bosses.
Heroic Slash – A classic 15% damage debuff on bosses, so unless you have an NB who uses Shades throughout a fight, you will want this.
Defensive Stance/Mist Form – Defensive Stance is my default skill for maximum tankiness, damage reduction and cost reduction is very nice. If you want to get the 10% regeneration buff as a Vamp, then you may want to go with Mist Form. Against a single boss I find the cost reduction from Defensive Stance is not necessary and in many cases the 8% damage reduction isn’t either – especially with a 75% reduction skill at the ready.
Obsidian Shield – The backbone to the build. A damage shield to protect you and your friends, pretty cool. That’s not really why it is here though, that is all just a bonus (though with it you should find in trash fights you don’t need to block much). The reason it is here is because it is an Earthen Heart ability, and that means 5% Stamina back every time you cast it…and this build lets you cast it a lot.
Flex (Dragon Blood) – Put what you like here. In easier content you may want Lava Whip to spam out some DPS, against tough raid mobs you may want good ol’ Blood for that heal (either morph – if you are a potion chugger then likely you don’t need Green Dragon Blood morph).
Ultimate: Ferocious Leap– Any Dragonknight Ultimate will work here, I personally prefer the Leap, mainly for its low Ultimate cost which helps activate Battle Roar more frequently if required.
Secondary Bar: 1h & shield
Inner Beast/Pierce Armor – There for the occasions you need to taunt at range. Though if using Burning Talons, that makes the bar rather magicka intensive, so you may prefer to have Pierce armor here.
Volatile Armor – Boosts defense by 5k, so is a must have in my opinion, also does some damage on activation and for duration.
Defensive Stance – Here mainly for the reduced cost, but if you find stamina is not a struggle, then go ahead and swap it out with something else.
Obsidian Shield/Shard – Here for the Earthen Heart passive again. For full defense go with the shield, it gives you the freedom to not block quite a bit. If however you like keeping block up at all times then go with the Shard and indulge in knocking things over!
Burning Talons/Caltrops – Here for the CC. Talons keeps things close but has a small range, Caltrops has a huge area and causes a lot of aggro and also only needs to be cast once, the good news is it leaves lots of spare magicka for Earthen abilities, the downside is it has a high Stamina cost so you are playing catch up when it comes to recovering.
Ultimate: Devouring Swarm/Dragonknight Ultimate – AoE damage, mainly here to activate the Vampire regeneration passives (if you are a vamp). Otherwise pick a Dragonknight Ultimate.
So, Bar 1 is the boss tank mode, single target, taunt, debuff, keep block up, keep Obsidian Shield up. Against one mob the stamina regeneration is easily managed as you will easily keep it going with Earthen Heart casts and Battle Roar.
Bar 2 is for multiple mobs. If using Caltrops, throw it, cast Earthen Heart skill, run in, put block up, taunt key mobs, spam your Earthen Heart skill. If using Talons then you will just cast that periodically in between the taunts and Earthen Heart skills. If using Talons, you may prefer to use Pierce Armor as your taunt to ease up on magicka use.
Buffs
Elude – 20% dodge chance 20 seconds
Volatile Armor – major resistances 20 seconds
Igneous Weapons – 20 seconds for minor brutality.
Heroic Slash – 9 seconds for more ultimate generation.
Debuffs
Pierce Armor – taunt so mobs beat on you not your allies 15 seconds
Heroic Slash – damage debuff 9 seconds / or Choking Talons for AoE
Rotation
•As you can see, we got a lot of buffs/debuffs above that we maintain. Keep in mind priorities, if you have 10% stamina it’s more important to keep Elude and Pierce Armor up than Defensive Stance and Heroic Slash, prioritization makes this build work. So here’s how I go about doing it.
•As soon as I get into the trick of things, I Talons, Volatile Armor and Pierced Armor individual targets (usually I pot a potion at this time as well)
•Next up is get massive ultimate generating with Heroic Slash on the most threatening mob
Then you’ve come to the point of prioritization. Need stamina? First option is potion, next is spam cast Igneous Weapons. Ask yourself, am I grey appearance with spikes on my back? If not, Elude/Volatile Armor. Do I have extra stamina? Heroic Slash and rebuff Defensive Stance. It takes some time, when in doubt taunt targets and keep your basic buffs up. Warhorn at the beginning of boss fights and possibly another time (I can do 3x during Lord Warden).
ESO is more and more interesting along with the update 12 which brings players together in One Tamriel now. Just like other MMOs, if you don’t have enough time to improve your level, you can use ESO Gold to purchase not only gear and weapons, but also awesome items in game. Of course, you can buy ESO Gold right here in Mmogah, since it’s a so reliable ESO Gold seller that more and more players chose to buy ESO Gold from. If you don’t know how to choose a Safe website to buy ESO gold, you can read this Guide first, you've found which one is the best of those choices! Whenever you need to buy ESO Gold, our Live Chat is 24/7 online.
Helpful Links: