We introduced Ulduar boss guide part one last week. Today we go on sharing the boss guide part two. If you are hard to beat these bosses, you can use some WotLK Classic gold to strengthen your weapons to conquer them.
Mimiron
This is an unskippable boss that has a very difficult hard mode. Four phases, each one being in a different vehicle. This is going to be a tough fight for sure on hard mode, also known as the Firefighter.
An ability you're going to avoid in phase 1 is Proximity Mines. They are laid on the ground sort of near melee range, which deals 20,000 fire damage when triggered. This will almost kill you, and you don't want to get hit. You're at the most risk of being hit by it. When you have to run away from the boss, he starts casting a shock blast, which deals 100,000 nature damage to targets within 15 yards. This is where all melee needs to run out away from Leviathan Mk II, so don't get hit by Proximity Mines.
When you are running away, also in phase 1, Leviathan Mk II will cast Plasma Blast, which deals 25,000 fire spell damage for 6 seconds. This is going to be used on the tank. The healers are going to be spread out so that more than one target doesn't get hit by the Napalm shell, which does 10,000 fire damage to targets within 5 yards of the impact point, leaves damage over time, and does 6,000 fire damage per second for 8 seconds. Do all of this fine, and then you will move on to phase 2. VX-001 is part of the Mimiron encounter of Ulduar and serves as the vehicle players engage in Phase 2. This is the recommended phase to use Bloodlust.
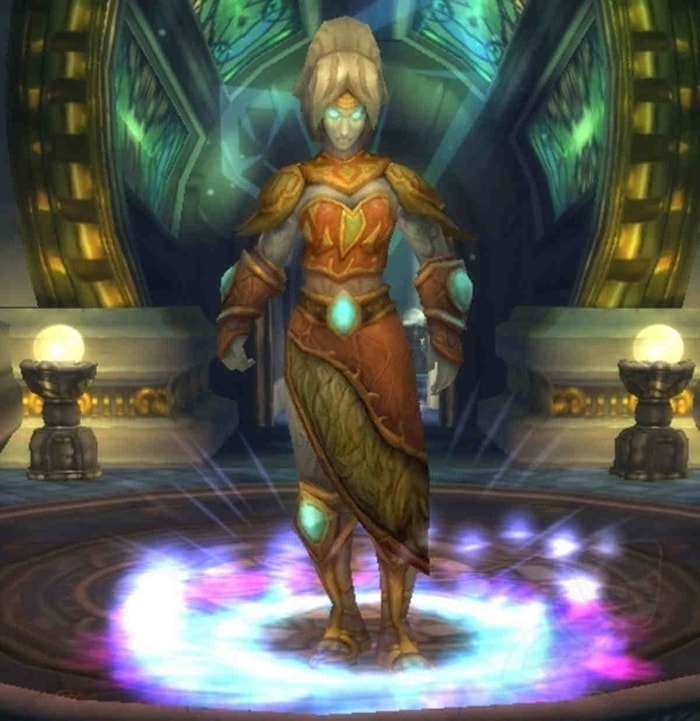
Freya
This is an unskippable boss with a very difficult hard mode. We're going to start with the normal mode first and then go through the hard mode. You're going to have to clear three mini-bosses within the room.
The first mini-boss is Elder Stonebark. He uses Ground Tremors, which does raid-wide damage and interrupt spellcasting for 8 seconds. He also buffs himself with Stonebark, causing massive reflect damage on melee hits. He also buffs himself with the Fist of Stone, which greatly increases his melee damage but slows him down. If you remember Karazhan, those constructs had an ability like that, and the tank needed to run away from him during that time period. He is a pretty easy boss fight.

The second mini-boss is Elder Ironbranch. He is the second one in the back right and casts iron roots on a random player. These iron roots are essentially an NPC being put on top of the player, making the player debuffed with a Snare and doing quite a bit of damage over time. Killing the NPC removes the debuff, and the Hand of Freedom instantly removes it, so you should have someone assigned to use Panda freedom on anyone who gets iron roots on them. Elder Ironbranch will also impel the tank dealing massive damage. Once one tank is impaled, the other tank should flop in to survive through that damage.
The third mini-boss is Elder Brightleaf. This last boss shoots high-damage bolts at random players, and it can do quite a bit of damage. Some players might even get one shot. He also places Sunbeams that continuously damage players under them and will continuously Empower him. If he stays under it, tanks should just keep the boss moving so that he's never under any Sunbeams. Those three bosses are pretty easy.
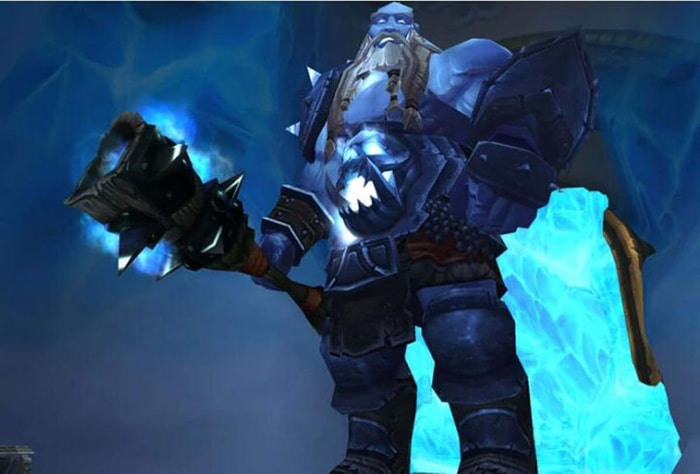
Thorim
There is quite a lot going on in this fight, but we'll get through it, so Thorim is a boss with an optional hard mode unskippable boss. Of course, if you want to complete the dungeon and it is a two-phase fight, the first part of the fight is actually just clearing out the mobs in the arena area.
Nothing special here aside from a giant worm that needs to be faced away from the raid to avoid unnecessary extra damage. Now at this point, once the arena is clear, there's going to be a lever on the left-hand side when you enter, and that's going to open up a gate leading to a tunnel.
This tunnel is also called the Gauntlet, and this is where your raid will split into two different groups. There's going to be the arena group and Gauntlet group or tunnel. Once your raid has split into two, you're going to have two different roles. We're going to start off with what the group that stays in the arena is responsible for and what they can expect. There are going to be ads that regularly spawn. For the arena group, there are four different types of ads: Commoners, Champions, Warbringer, and Evoker.
Hodir
This is a boss that revolves around freeing NPCs that are going to give your raid buffs and make this boss much easier. In order to complete Hodir on hard mode, you need to defeat him in under three minutes. Really the key to doing that is utilizing the buffs from the NPCs flawlessly.
At the beginning of the fight, you will get free NPCs from the Ice Blocks and want to free the Mages first because they have an ability called Melt Ice, which will help free the other NPCs too.
They also cast Toasty Fire, which is a key ability for this fight. The Toasty Fire does fire damage, but it also increases damage taken to your enemies from magical spells and effects by 2%, and it stacks up to 30 times, meaning 60% more damage from magical spells and effects. This is key to defeating Hodir in hard mode. The other ability that you're going to get from the Druid NPCs is Starlight.
This is going to give you a 50% haste for melee range testing and a very powerful buff as well, and you're going to be standing in the Starlight in order to get that benefit. The Toasty Fire also removes a key debuff that Hodir puts on everyone called Biting Cold. It deals Frost damage when the target remains stationary for 4 seconds; each stack doubles the damage done. This is like the fight in the Nexus, where you have to be constantly moving. If you're near a Toasty Fire, you don't have to keep moving because it's going to remove your Biting Cold debuff and the final important NPC.
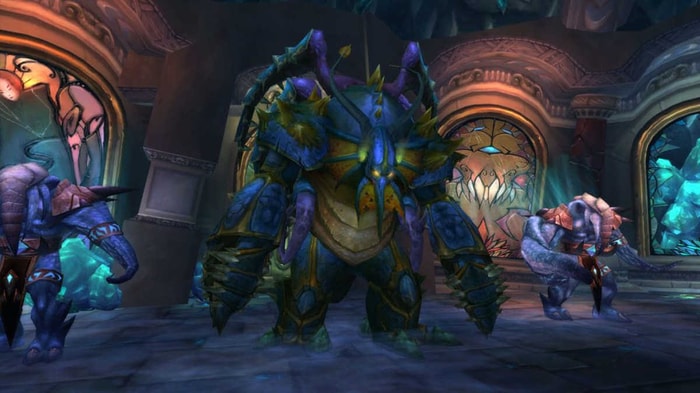
General Vezax
He has an aura during the duration of the encounter called the Aura of Despair. This prevents Mana regeneration from nearly all-natural sources and reduces melee attack speed by 20%. This is a constant throughout the raid. He will also cast an ability called Searing Flames, which deals a massive amount of fire damage to all enemies and reduces everyone's armor by 75% for 10 seconds. This has to be interrupted, or it will cause your tank to die because everyone is going to get hit by it, so it must be interrupted. You also need to avoid Shadow Crash.
Now if you remember the Ruins of Ahn'Qiraj dungeon near the end of that dungeon, some faceless ones shoot twirling purple things and then hit the ground right, so Shadow Crash is similar, you need to avoid getting hit by this right, but after it lands, you want to stand in the leftover energy field, which will linger for 20 seconds increasing magical damage dealt by 100% casting speed, but it reduces healing done by 75%, and it also reduces Mana costs by 75%, so all cast your DPS as well as disciplined Priests, since they mostly use shielding are going to stand in the leftover pool that Shadow Crash leaves. There's also the Mark of the Faceless.
It is basically a debuff that's going to go on a player. They need to run away from everyone else because everyone around them is going to start taking damage, and Vezax is going to be healed for that damage taken. It's going to last for 10 seconds.
Yogg-Saron
The big boss is Yogg-Saron. This fight is very famous for having the ability to choose how many Keepers you want to help. The fewer keepers you use, the more loot you will get. Typically, everyone is going to go with one light. However, zero light exists, which is the hardest encounter on 25-man raid, which will reward you with Mimiron's Head at 310% move speed Mount, and on 10-man raid, it will reward you with the Clutches of Yogg-Saron Cosmetic trinket.
Now there are a lot of different mechanics that go on during phase 2, and we're going to go one by one, so there's going to be Crusher Tentacles that almost have a Bulb at the end. They are dangerous towards melee, so range DPS is going to focus on them. Paladins use the judgment spell on them because they're going to be using a debuff, which is called Diminish Power.
Algalon the Observer
The guy who's going to drop all that delicious hard mode loot so Algalon can only be accessed through the quest chain that involves beating the Iron Council on hard mode and then all of the four Keepers on hard mode. Once you do that, you get a key that can be used to open the door to Algalon. Once Algalon is pulled for the first time of the week, an one hour timer will begin, and Algalon will instantly vanish once that one hour timer is complete, so the goal is to be as focused for that one hour during progression because you have a limited number of attempts to pull this off, and you can make the best use of that one hour during progression. This is how you defeat Algalon.
Thank Toyhouze for sharing this helpful video.
Related Link: