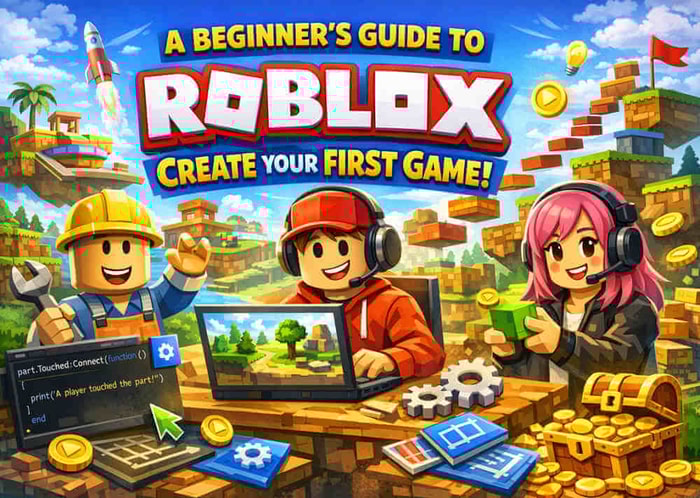
Roblox has become one of the world’s most influential user‑generated gaming platforms, attracting millions of players and creators every day. What makes Roblox unique is that it is not just a place to play games—it is a place where anyone can build their own. With Roblox Studio, even complete beginners can design immersive worlds, interactive experiences, and full‑fledged games.
This guide will walk you through the essential steps to create your first Roblox game, while also helping you understand how features like Roblox Robux fit into the creator ecosystem.
1. What Is Roblox Studio and Why Use It?
Roblox Studio is the official development environment used to create every game on the platform. It is free, accessible, and designed for creators of all skill levels. Whether you want to build a simple obstacle course or a complex simulation game, Roblox Studio provides the tools you need.
The platform’s success comes from its user‑generated content model. Players can create games, publish them, and even earn Roblox Robux through in‑game purchases, game passes, or developer products. While earning Robux is not the focus for beginners, understanding its role can motivate you to improve your creations over time.
2. Setting Up Roblox Studio
Before you start building, you need to install and set up Roblox Studio.
Steps to get started
- Download Roblox Studio from the official Roblox website.
- Install and open the application.
- Log in using your Roblox account.
- Choose a template or start with a blank Baseplate.
For beginners, templates like Obby, Village, or Racing provide a structured starting point. They include pre‑built elements that help you learn how different parts of a game work.
3. Understanding the Interface
Roblox Studio may look overwhelming at first, but each panel has a clear purpose. Learning the interface early will make your development process smoother.
Key panels
- Explorer: Shows all objects in your game world.
- Properties: Displays editable settings for selected objects.
- Viewport: The 3D workspace where you build your world.
- Toolbox: Contains free models, scripts, and assets.
- Home / Model / Test tabs: Provide tools for building, editing, and testing.
Spend a few minutes clicking around, selecting objects, and adjusting their properties. This hands‑on exploration helps you understand how everything fits together.
4. Building Your First Game World
Once you’re familiar with the interface, it’s time to start building.
Using Parts
Roblox Studio uses “Parts” as the basic building blocks. You can insert:
- Blocks
- Spheres
- Cylinders
- Wedges
These can be resized, rotated, and moved to create platforms, walls, buildings, or obstacles.
Using the Toolbox
The Toolbox allows you to drag pre‑made assets into your game. This is extremely helpful for beginners, but choose assets carefully. Some community models include unnecessary scripts that may affect performance. Look for items marked as “Verified” or created by trusted developers.
Organizing Your Workspace
As your game grows, organization becomes important. Use folders in the Explorer panel to group objects logically:
- “Obstacles”
- “SpawnPoints”
- “Decorations”
Good organization saves time and prevents confusion later.
5. Adding Gameplay with Scripts
Roblox games use Lua, a beginner‑friendly scripting language. You don’t need to be a programmer to start, but learning basic scripting will greatly expand what you can create.
Simple scripts you can try
- Making a part disappear when touched
- Creating a moving platform
- Adding checkpoints
- Giving players speed boosts
Here’s a simple example: a script that prints a message when a player touches a part.
Lua:
local part = script.Parent
part.Touched:Connect(function(hit)
print("A player touched the part!")
end)
Even small scripts like this help you understand how interactions work in Roblox.
6. Testing Your Game
Testing is essential. Roblox Studio provides several testing modes to simulate gameplay.
Use the “Play” button to:
- Walk around your world
- Test scripts
- Check spawn points
- Look for bugs
- Ensure platforms and obstacles work correctly
You can also use Play Here, Run, and Play Solo to test different aspects of your game.
7. Adding UI and Game Logic
A polished game needs more than objects—it needs user interface elements and clear rules.
Common UI elements
- Timers
- Score counters
- Health bars
- Buttons
- Pop‑up messages
You can create UI using ScreenGui objects inside the StarterGui folder. Roblox provides templates for text labels, buttons, and frames, making it easy to design simple interfaces.
8. Optimizing Your Game
A smooth game keeps players engaged. Here are some optimization tips:
- Remove unused parts and scripts.
- Avoid too many moving objects.
- Use low‑poly models when possible.
- Test on mobile devices—many Roblox players use phones.
- Keep lighting simple to improve performance.
Optimization ensures your game runs well for all players, not just those with powerful devices.
9. Publishing Your Game
Once your game is playable, you can publish it to Roblox.
Steps to publish
- Click File → Publish to Roblox.
- Enter a name, description, and genre.
- Choose whether the game is public or private.
- Set permissions and access settings.
After publishing, you can share the link with friends or the Roblox community.
If you eventually want to monetize your game, you can add game passes or developer products that players can purchase using Roblox Robux. This is optional for beginners, but it becomes important as your game grows.
10. Improving Your Game Over Time
The best Roblox games are updated regularly. After publishing, pay attention to:
- Player feedback
- Bug reports
- Suggestions from friends
- Analytics (visits, playtime, retention)
Add new levels, improve visuals, or introduce new mechanics to keep players coming back.
11. Learning and Growing as a Creator
Roblox provides many resources to help you improve:
- Roblox Creator Hub
- Developer Forum
- YouTube tutorials
- Community Discord servers
The more you practice, the more confident you’ll become. Many successful developers started as beginners just like you—and some now earn significant amounts of Roblox Robux through their creations.
Final Thoughts
Creating your first Roblox game is an exciting journey. You don’t need advanced skills or expensive tools—just creativity and curiosity. Start small, experiment with templates, learn basic scripting, and gradually build your skills. With time and persistence, you can create a game that players around the world will enjoy.