Legendary Items are more than powerful weapons in Borderlands 4. It shapes how fast you level up in BL4, how efficiently you complete challenges, and how well you survive in high-difficulty encounters. Whether your focus is farming bosses, clearing challenges, or pushing into tougher zones, the right legendaries will make your journey smoother.
This list highlights the Top 10 must-have Borderlands 4 legendary Items—from All-Arounder guns to game-changing shields and repkits. No matter what build you’re running, these items provide massive boosts in damage, healing, elemental coverage, cooldown reduction, or ammo sustain. Together, they form the “core toolkit” every Vault Hunter should carry.
Below, we break down each item’s key features, advantages, and drop locations to help you target-farm the gear you need and power up your character faster.
Top 10. BOD Shotgun
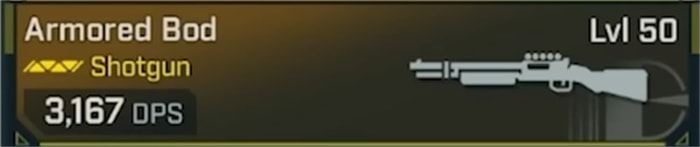
Features: An all-rounder weapon that counts as a shotgun, assault rifle, sniper rifle, pistol, and SMG.
Advantages:
● Solid damage can be the core of specific builds (e.g., Vex’s Bloodshot Build).
● Extremely efficient for completing weapon challenges—kills count toward five weapon categories at once, greatly accelerating progress.
Usage Note: Make sure kills are done with the weapon itself rather than skills (e.g., bleed effects), otherwise they may not register correctly.
Drop Location: Carcadia District, Dominion – Abandoned Auger Mine (Toil of Spoiling Vis).
Top 9: Rainbow Vomit
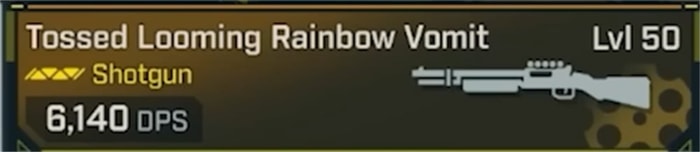
Features: A Jakobs shotgun classified as non-elemental, but it rolls with three random elemental types.
Advantages:
● Provides the widest elemental coverage, making it effective against almost any enemy.
● Especially valuable in higher difficulty levels where enemies resist non-matching elements but take massive extra damage from matching ones.
● Considered the best weapon for farming the boss Violtor, who is immune to most skill-based damage (e.g., bleeds, neutron capture on Harlo).
● Rainbow Vomit’s projectiles bounce inside Violtor’s weak spot, like the classic “bore kill” effect on Bunker, quickly shredding him.
Drop Location: Start the Enter the Electi Part 1 quest in the Ruin Sumplands, Carcadia. Completing the chain (Enter the Electi 2 → The Council Divided → A Traitor Within → The Mole’s Gambit) allows you to fight Leader Willhamm, who drops the Rainbow Vomit.
Top 8: Wombo Combo
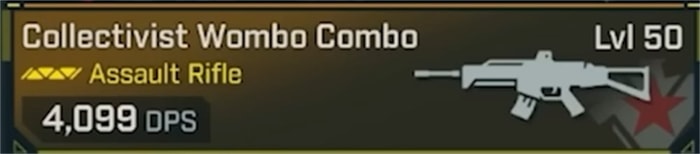
Features: One of the best assault rifles in the game overall. When fired, it shoots explosive rounds with a large splash radius.
Advantages:
● Extremely effective against Vile enemies, which have multiple crystal parts that are normally difficult to destroy one by one.
● The AoE splash damage hits several crystals at once, making it much faster to deal with these tougher enemies.
● Great as a swap-in weapon when you need quick solutions to crystal-covered foes.
Drop Location: Ripper Drill Site Saw‘s Clench, located in the Ruined Sumplands, Carcadia—just above the Judgment‘s Lapse silo.
Top 7: Underbarrel Attachments
Features: General underbarrel attachments provide some of the highest burst damage in the game, making them invaluable for tough enemies and bosses.
Advantages:
● Spread Launcher (found on Dahan and Jacob shotguns) is a standout, capable of one-shotting Vile enemies or bosses, with a relatively short cooldown.
● Other powerful underbarrels include:
◆ Vlad SMG Tasers
◆ Maliwan Shotgun Beam Tossers
◆ Alt-fire Energy Disc (can roll with Jacob parts), capable of one-shotting nearly any boss.
● Great fallback option if your build struggles with damage output—underbarrels can make a huge difference.
Drop Location: For farming purple gear like Spread Launchers or the Pen Knife, recommended spots are Splash Zone or Ripper Drill Sites, provided your build has good, clear speed.
Top 6: Kill Spring Repkit
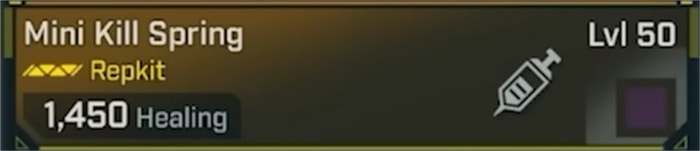
Features: Comes with the legendary perk Blood Siphon—on kill, 100% of excess damage is converted into healing orbs that seek out nearby allies (including yourself).
Advantages:
● Perfect for DPS-focused builds that don’t want to invest skill points into healing or survivability.
● The more damage you deal, the more healing you receive, allowing pure damage builds to sustain themselves easily.
● Naturally comes with decent healing power on a short cooldown, making it one of the strongest rep kits in the game.
Drop Location: Drops from Axe Mall in the Abandoned Auger Mine (Toil of Spoiling Vis), Carcadia District of Dominion.
Top 5: Vivisecting Throwing Knife
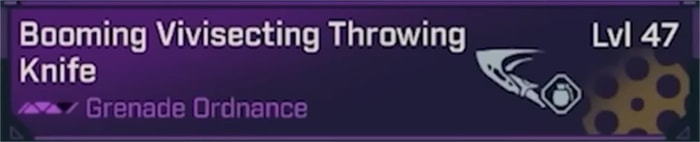
Features: A legendary throwing knife that applies a debuff, causing all attacks against the target to automatically crit for 5 seconds.
Advantages:
● Significantly increases damage for nearly every build in the game (except Ordinance builds).
● Works with all sources of damage—status effects, skill damage, action skills, and guns—providing a massive DPS boost.
● Extremely useful for boss fights, greatly improving single-target burst damage.
● Low cooldown makes it practical even during mobbing—throw it at a tanky elite or badass, and they will melt quickly.
Drop Location: Not specifically listed in the source (legendary drop from certain enemies or activities).
Top 4: Hot Slugger Shotgun
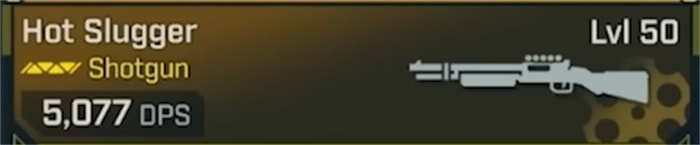
Features: One of the most powerful legendaries in the game, effective for every character. Provides immense amounts of damage across all builds.
Advantages:
● Universally beneficial—no build fails to gain from equipping it.
● Can stack up to 90% bonus damage from non-kill actions while holding the weapon, making it excellent even for melee builds.
● Acts as a powerful “Fight for Your Life” tool: melee builds can’t use ordinance in this state, but this shotgun provides a backup option with stacked damage to get you back up.
● Capable of one-tapping most enemies.
● Outshines skill-tree gun damage bonuses (usually 25–30%) by offering much higher scaling.
● Great choice for players wanting to breeze through the campaign quickly.
Drop Location: Drops from Callus, the Harbinger of Annihilating Death, at Craven’s Nook, Order Bunker, located just above the Bones of Sanctuary fast travel point.
Top 3: Fireworks Shield

Features: A legendary shield that spawns homing missiles whenever you get a kill.
Advantages:
● Great for mobbing—dramatically increases clear speed by automatically targeting and damaging nearby enemies.
● Scales with your gun damage, making it effective early and later levels.
● Can trigger additional missiles on armor segment breaks, providing extra damage when you’re taking hits or close to dying.
● Extremely reliable for progression: players often equip it in the late teens and still find it strong well into their 30s.
● Substantially improves any build’s ability to handle groups of enemies quickly.
Drop Location: Drops from Splash Zone, located to the right of the spawn point at the Abandoned Post.
Top 2: Super Soldier Shield

Features: Legendary shield with the Power Play effect. When your energy shield is full, it grants:
An overshield
+25% fire rate
+25% movement speed
1 ammo regenerated per second
Advantages:
● Extremely versatile—benefits nearly every build.
● The +25% movement speed bonus saves you from spending multiple skill points, making traversal much faster.
● Provides rare ammo regeneration, solving sustain issues.
● +25% fire rate is massive, exceeding most rep kits, which usually cap at +15%.
● All bonuses apply simultaneously, making it one of the most stacked shields in the game.
Drop Location: Drops from Violtor in the Umbreal Fortress. (If you haven’t completed the story but used a campaign skip, you can access Violtor via Substation Canonary.)
Top 1: Triple Bypass Repkit
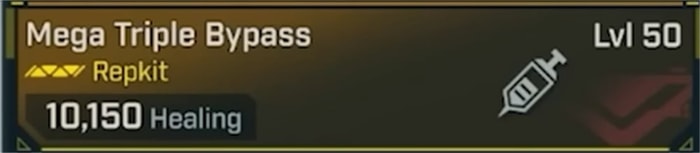
Features: The only Rep Kit in the game with three charges; each kill has a 30% chance to replenish a charge.
Advantages:
● Ensures near-constant Rep Kit availability.
● Can roll with any perk, offering huge flexibility.
● With an amp perk, it can massively boost DPS: amp your first shot, then repeat with each Rep Kit use—effectively stacking up to 600% damage.
● You can also roll at +40% movement speed, allowing you to maintain constant mobility.
● Works especially well with Now with Caffeine—every Rep Kit activation reduces action skill cooldowns by 25%. With three charges, you can effectively cut cooldowns by 75% almost instantly.
● A true all-in-one option: excellent for survivability, damage, and utility.
● Many players find little reason to use other Rep Kits once they obtain them.
Drop Location: Drops from Backhive in the Abandoned Auger Mine (The Claim), located in the Fadefields Dissected Plateau.