TBC Phase 2 has been live for one week now, and players are already diving deep into one of the most iconic raids in Burning Crusade history: Serpentshrine Cavern. Even in its post‑nerf state, SSC is not a raid you can sleepwalk through. Trash hits harder than you expect, bosses still punish sloppy play, and mechanics matter more than raw DPS.
This guide is written from a real player’s perspective, focusing on practical strategies, clean order, and the most efficient ways to clear SSC smoothly while avoiding common mistakes. Let’s dive in.
🧭 Phase 2 Overview – Why SSC Matters More Than Ever
SSC is one of the two major Tier 5 raids in Phase 2, and it’s the one players typically clear first because:
It drops Tier 5 Helm, Legs, and Gloves
It has more bosses, meaning more loot
It’s easier to pug than TK
It’s required for Vashj attunement (if you care about lore)
SSC may be easier post‑nerf, but it still demands consistent consumables, proper enchants, and utility usage every week, and that naturally increases your gold spending in Phase 2.
🗺️Phase 2 Boss Progression Order
Here’s the cleanest, most efficient boss order for Phase 2 progression:
2️⃣ The Lurker Below
3️⃣ Leotheras the Blind
4️⃣ Fathom-Lord Karathress
5️⃣ Morogrim Tidewalker
6️⃣ Lady Vashj
This order minimizes trash respawns and avoids the most dangerous patrol overlaps.
⚔️ Trash Strategy – Treat It Like Heroic Dungeon Trash
SSC trash is not free loot. Even post‑nerf, it will punish lazy groups.
General Rules
Use 2–3 tanks
Treat trash like Heroic Slave Pens
Grounding Totems stop deadly casts
Purge / Arcane Shot removes dangerous buffs
Sheep / Banish / Stuns are mandatory
Warlocks must NOT seed early, or they wipe the raid
Assign healers even on trash — don’t whack‑a‑mole heal
Underbog Colossus
These giants patrol everywhere and can:
Cast Acid Geyser (run to tank)
Cast Sporquake (30‑yard AoE)
Spawn adds on death
Drop poison clouds
Never pull them with other packs.
❄️🌿 Hydross the Unstable – The Resistance Boss
Hydross is all about resistance gear, clean transitions, and threat control.
Frost Phase
Water Tomb → spreads within 8 yards
Frost Mark → increasing frost damage
Spread out and avoid chaining Tomb
Nature Phase
Vile Sludge → 50% reduced healing & damage
Nature Mark → increasing nature damage
Transition Mechanics
Crossing the line = full threat wipe
Tanks must snap threat instantly
Misdirect after transition
4 adds spawn → banish or AoE
Simple Strategy for New Players
Tank A: Frost resist
Tank B: Nature resist
Ranged spread 8 yards
Stop DPS before transitions
Kill adds → resume boss
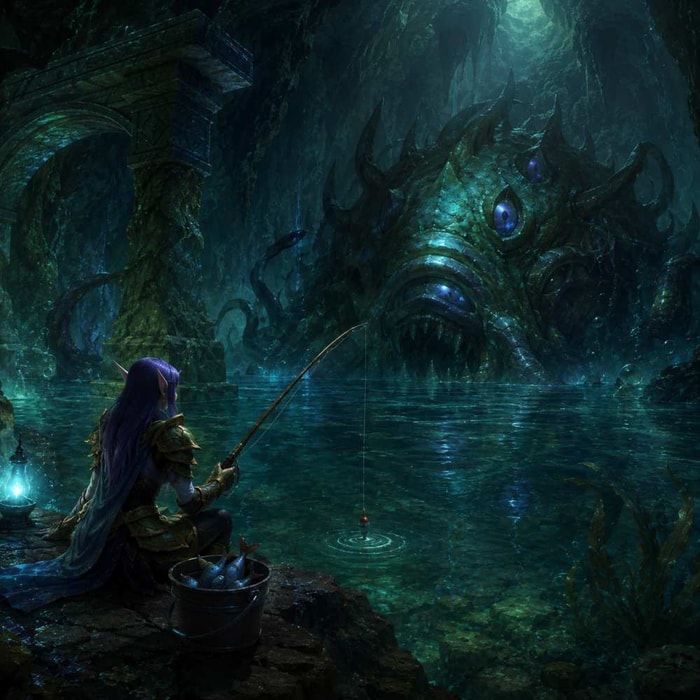
🌊 The Lurker Below – The Fishing Encounter
The hardest part of this fight is literally fishing him up.
Phase 1
Whirl → run into water to avoid knockback
Geyser → spread 10 yards
Spout → jump into water as the beam passes
Intermission
3 waves of adds
CC ambushers (sheep/fear)
Kill guardians first (they cleave hard)
Simple Strategy
Tank him near the torch/wall
Use BigWigs timers
Stay in the water during a whirl if unsure
🔥 Leotheras the Blind – Threat & Inner Demons
Leo is a threat check disguised as a boss.
Human Phase
Whirlwind → run away
Threat resets after every whirlwind
DPS must STOP early
Demon Phase
Chaos Blast → fire tank required
Inner Demons → kill your own demon in 30s
Another threat reset
Final Phase (15%)
Both forms active
Kill human form → fight ends
Simple Strategy
Assign a fire-resistant tank
Save Bloodlust for the demon phase
DPS: watch threat
Healers: be ready to DPS your demon
🛡 Fathom-Lord Karathress – Multi‑Tank Coordination
Each add requires its own tank:
| Add | Mechanic | Priority |
| Shaman | Interrupts | Kill first |
| Hunter | Pet tank |
Kill second |
| Priest | Heal reduction | Kill third |
| Karathress | Main boss | Kill Last |
Simple Strategy
Assign tanks clearly
Kill order: Shaman → Hunter → Priest → Boss
Spread for multi‑shot
💀 Morogrim Tidewalker – Murloc Management
Key Mechanics
Earthquake → raid damage
Watery Grave → teleports 4 players
Murloc waves → tank/healer check
Simple Strategy
Paladin tank picks up murlocs
Warlocks seed (but not too early)
Heal Watery Grave targets instantly
🐉 Lady Vashj – The Real Phase 2 Final Boss
Even post‑nerf, Vashj is still the hardest fight in Phase 2.
Phase 1
Spread for Static Charge
Kill adds
Avoid poison
Phase 2 (Core Phase)
Kill Striders (slow/stun)
Kill Elementals
Pass Tainted Core → disable shield
Repeat until shield down
Phase 3
Spread for Shock Blast
Kill adds
Burn boss
📦 Tier 5 Loot Table (Helm / Legs / Gloves)
Tier 5 Gloves (Leotheras)
| Class | Item |
| Warrior | Destroyer Handguards |
| Paladin | Crystalforge Gloves |
| Priest | Avatar Gloves |
| Rogue | Deathmantle Handguards |
| Hunter | Rift Stalker Gauntlets |
| Mage | Tirisfal Gloves |
| Warlock | Corruptor Gloves |
| Druid | Nordrassil Gloves |
Tier 5 Legs (Karathress)
All classes get their Tier 5 legs from Fathom-Lord Karathress.
Tier 5 Helm (Vashj)
All classes get their Tier 5 helm from Lady Vashj.
🧪 Consumables & Raid Checklist
Flasks
Flask of Mighty Restoration
Flask of Relentless Assault
Flask of Fortification
Food Buffs
Blackened Basilisk
Spicy Crawdad
Warp Burger
Resistance Gear
Frost resistance (Hydross)
Nature resist (Hydross)
Utility
Free Action Potions
Super Mana Potions
Nightmare Seeds
Drums of Battle
💰 Gold Consumption in Phase 2 (Where You’ll Spend the Most)
Phase 2 is expensive, especially early on:
Resistance gear crafting
Flask + food + oils every pull
Drums for leatherworkers
Enchants for new T5 pieces
Repair bills (trash wipes hurt)
This is why many players choose to buy cheap WoW TBC gold to skip the grind and focus on raiding.
🚀 Boosting Service – Save Time, Skip the Grind
If you’re behind on attunements, gear, or reputation, WoW TBC Anniversary boosting services can help you catch up fast.
Boosting is especially useful for:
Fresh alts
Returning players
Anyone who wants to raid without weeks of prep.
🏁 Final Thoughts
SSC is the heart of Phase 2 — a perfect mix of mechanics, coordination, and loot progression. With the right preparation, clean assignments, and players who respect threat, your raid will clear it smoothly even in the early phase.
This article is based on Jurdi’s video, enriched with our in‑depth insights and analyses.