In ARC Raiders, Blueprints are the foundation of your endgame power. Unlocking a blueprint permanently adds that craftable item—weapons, attachments, or consumables—to your workshop at Speranza Base, freeing you from the constant scramble for usable gear. This guide shares a highly efficient loot route I've refined over countless runs on the Dam Battlegrounds map. No keys required to start, perfectly viable for solo players—in one single night raid, I pulled 6 blueprints and walked out with over 160,000 ARC Raiders coins in total loot value.
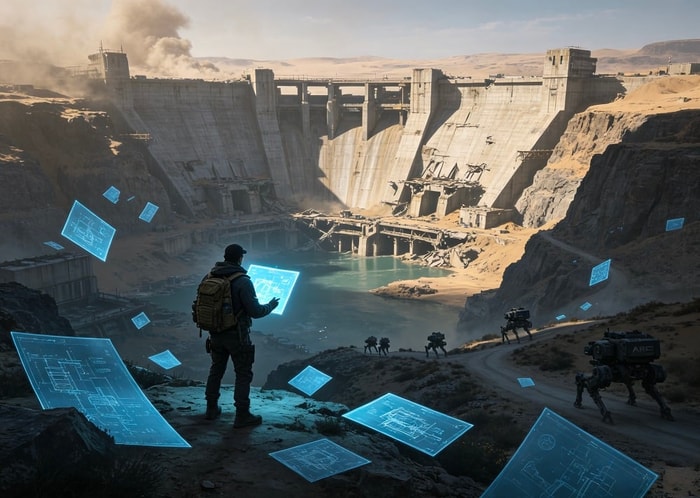
Why Dam Battlegrounds + Night Raid?
The Dam map is widely regarded as one of the best blueprint farming locations in the game. Its compact layout and dense concentration of high-value loot spots—especially the ReseARCh & Administration and Control Tower areas—make it a hotspot for military-grade gear and blueprint drops.
I highly recommend running this route during a Night Raid. During night operations, all loot values are boosted, and the drop rates for locked-room keys and high-tier items increase significantly. Yes, ARC robot patrols and player activity are more intense, but with a practiced route and efficient movement, the payout far outweighs the risk. The run documented in this guide was performed during a night raid—and the results speak for themselves.
Starting Point: ReseARCh & Administration Building
Head directly toward the central ReseARCh & Administration building as soon as you spawn. This structure is the single most reliable blueprint source on the entire map.
Once inside, prioritize all green and red storage lockers, weapon crates, and backpacks. Security lockers have the highest blueprint drop rate among all container types—always check them thoroughly. In my run, I pulled Stable Stock, Extended Shotgun Mag, and Wolfpack from this building alone—three blueprints in one building. The Wolfpack blueprint, in particular, is a highly valuable throwable item for late-game PvP.
If you happen to find a Dam Staff Key, there's a locked room on the ground floor—located at the end of the left-side corridor past the front desk. Inside, you'll find multiple rows of high-value red lockers and loose loot. One visit can easily push your bag value past 100,000 ARC Raiders Coins. Even without the key, the scattered containers throughout the building are more than enough to make the trip worthwhile.
Second Stop: Control Tower
After clearing ReseARCh & Administration, head straight to the adjacent Control Tower. This is another military-grade loot zone with dense weapon crates and lockers.
Before entering the tower, pause briefly to scan for player activity. In my run, I heard someone else looting parts of the building, but untouched containers in other corners still yielded additional blueprints. The upper floors of the Control Tower often hold multiple lockers and weapon crates—leave no corner unchecked.
Third Stop: Mid-Level Passage & Outdoor Container Yard
From the Control Tower, work your way along the mid-level passage toward the Power Generation Complex. Along this stretch, you'll pass through an outdoor container yard where up to six containers can spawn in a single cluster. This is a rare but valuable spawn—in my run, I encountered it and extracted another blueprint from this spot.
Watch out for ARC Rocket Troopers patrolling the area. Observe their flight paths and move through only when they're clear of your intended route. While outdoor containers are less dense than those inside buildings, the clustered spawns in this area can yield pleasant surprises.
Fourth Stop: Controlled Access Zone — High Risk, High Reward
If you still have time (in my run, I had about 16 minutes remaining), push toward the Controlled Access Zone on the southern side of the map. This is a high-tier loot zone introduced in recent patches, accessible through underground passages or ladders located below the Power Generation Complex.
To fully access the inner rooms, you'll need to locate a Fuel Cell to power the facility, then coordinate with teammates to press four buttons simultaneously to unlock the first door. The second door requires specific materials (randomized each raid—e.g., Razor Pulse Units + Metal Parts, or Industrial Batteries + Cables) and requires at least 3–4 players to solve.
For solo players, skip the puzzle entirely and focus on the scattered containers and breachable lockers around the perimeter. I found a blueprint from these containers during my run.
Solo players should prioritize the Controlled Access Key Room: there's a locked room deep inside that requires the Controlled Access Zone Key (which can be found at Ruby Residence, Pale Apartments, or other map locations). During Night Raids, this room's contents are exceptional—you can pull high-value ARC Raiders Items like Wolfpack Blueprint, Grappling Hook Blueprint, and Power Descender Blueprint.
Fifth Stop: Ruby Residence & Pale Apartments (Extraction Prep)
If you have 5–7 minutes remaining, briefly swing by Ruby Residence and Pale Apartments on the northern edge of the map. Though labeled as residential zones, these buildings still spawn commercial and residential loot, and occasionally contain overlooked containers.
In my run, these areas had already been cleaned out. I made the call to cut losses and sprint the 600 meters to extract. Don't overcommit—getting out alive matters more than chasing every last container.
Route Summary & Loot Results
Over the course of one full route—even without a key to start and without relying on teammates—clearing ReseARCh & Administration, Control Tower, the outdoor container yard, and the scatter containers around Controlled Access Zone, I extracted:
♦ 6 blueprints (including Wolfpack, Stable Stock, Extended Shotgun Mag, and others)
♦ 3 Deadline mines
♦ Multiple weapons (Bobcat 2, Il Toro 2, Ventor 2, Printed 2)
♦ Significant medical supplies and trinkets
♦ Total loot value exceeding 165,000 ARC Raiders coins
Practical Tips
♦ Run budget loadouts to minimize risk. Night raids see heightened ARC and player activity. Bring equipment you can afford to lose without frustration.
♦ Prioritize high-value containers. Security lockers, weapon crates, backpacks, and Raider stashes have significantly higher blueprint drop rates than standard drawers or cabinets. Focus your time on these.
♦ Learn your blueprints immediately. After extraction, visit the workshop and click "Study & Consume" to permanently unlock each blueprint. Duplicate blueprints can be sold for 5,000 ARC Raiders Coins—don't discard them.
♦ Respect the extraction timer during Night Raids. Night raids have fewer extraction points than standard ones, and all players converge on the limited exits. Plan your route and leave ample time to reach extraction safely.